Saxophone Swab Stuck? Stop Pulling and Protect It
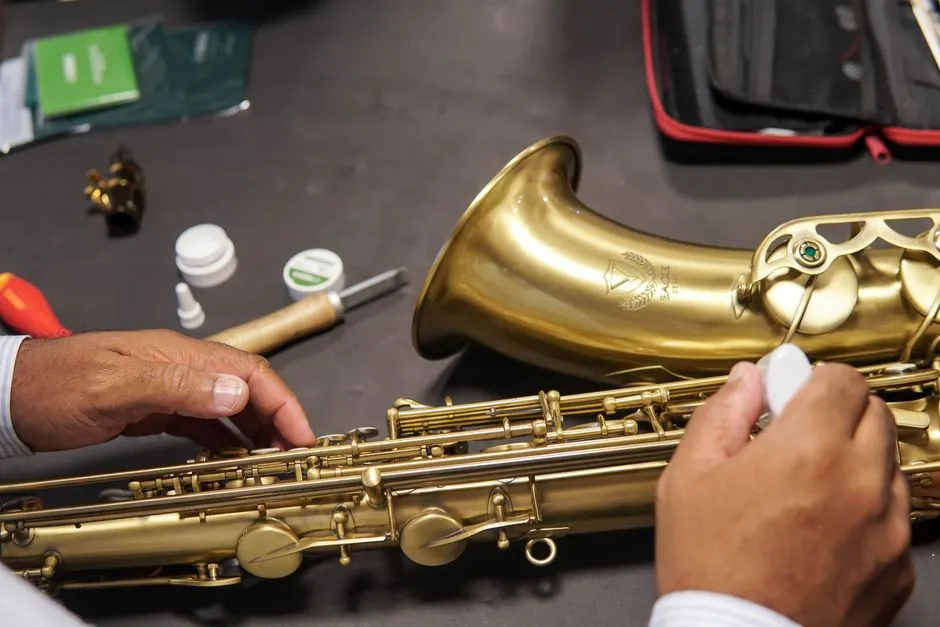
Stop pulling as soon as the swab resists
If a saxophone swab becomes stuck, stop pulling, pushing, twisting, or adding objects. Support the instrument securely, leave the swab in place, and take it to a qualified repair technician. Continued force can tighten the fabric, damage the bore or mechanisms, and turn a routine removal into a larger repair.
Make the area safe
Set the instrument in its case or on a stable protected surface according to manufacturer guidance. Keep people from handling the exposed cord or trying competing methods. Do not suspend the saxophone by the swab.
If the stuck swab prevents safe placement in the case, support the instrument without pressure on keys and contact a technician for transport instructions.
Do not improvise extraction tools
Do not insert rods, hooks, wires, screwdrivers, coat hangers, additional swabs, compressed air, liquids, heat, or chemicals. Do not remove keys or guards. These actions can scratch the bore, snag mechanisms, dislodge pads, expose sharp springs, or wedge the material more tightly.
If unexpected inhalation, skin, or eye exposure occurs, contact a local poison center for case-specific guidance; in the United States, Poison Control provides online help and 1-800-222-1222. Call local emergency services for severe breathing difficulty, collapse, or other life-threatening symptoms.
Do not ask one person to hold the instrument while another pulls harder. More force does not provide more information about the obstruction.
Contact a qualified repair technician
Describe the instrument, the component involved, the direction the swab entered, where it appears to stop, and whether any cord or weight remains visible. Follow the technician's packing and transport instructions.
Our guide to when saxophone needs repair explains why stuck objects belong at the bench even when the instrument looks undamaged.
Preserve the evidence
Bring the swab packaging or model information if available. The technician may need to know its size, construction, pull weight, and cord. Do not cut away visible material unless the technician instructs you; removing a useful grip or identifier can complicate removal.
After extraction, have the technician check for damage before playing. Do not play-test the instrument until that removal and inspection are complete.
Prevent a repeat
Use only a clean, undamaged swab sized and designed for the exact instrument component. Follow its direction and the instrument manufacturer's care instructions. Before every pass, spread the fabric fully and inspect for knots, tangled cord, tears, loose stitching, or foreign objects.
Pull gently and steadily. If resistance begins, reverse only when the manufacturer explicitly permits and the swab remains freely movable; otherwise stop and use a qualified repair technician. Never force the weight or fabric through a tight turn.
The after-playing cleaning routine separates body, neck, mouthpiece, and reed care so each component receives its approved tool and method.
Store swabs dry and untangled
Allow the swab to dry outside the closed case as directed, then store it where cords cannot knot around accessories. Replace a damaged or persistently tangled swab rather than repairing it with tape, knots, pins, or adhesive.
Safe saxophone storage keeps loose tools away from keywork and fitted case spaces.
A stuck swab requires a complete stop. Secure the instrument, add no force or objects, and let a qualified technician remove the obstruction with appropriate access and tools.